 towngameh5.com
Master Guide to Poppy Playtime: Chapter 2 – "Fly in a Web"
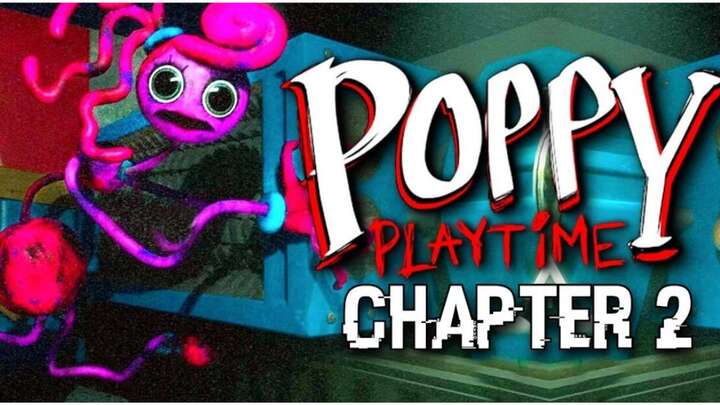
Welcome to Playtime Co.’s deepest, dark underground testing facility! Poppy Playtime: Chapter 2 – Fly in a Web raises the stakes significantly compared to Chapter 1. Not only is the map vastly expanded, but the introduction of new equipment mechanics—such as the Green GrabPack hand, wire-conduction mechanics, and horizontal grappling hooks—presents complex environmental puzzles. Above all, you are watched by Mommy Long Legs, an elastic terror who forces you into deadly game show trials.
This complete walkthrough guide walks you chronologically through every section of Chapter 2. From escaping Ludwig's office to surviving trials and taking down Mommy Long Legs, this step-by-step manual guarantees your survival.
1. Escaping the Intro Area & Restoring Power to the Cable Car
Key Walkthrough Steps:
- Vent Access: Remove the handprint cover behind Ludwig’s desk.
- Circuit Puzzle 1: Connect power from the source socket around two metal poles to the gate outlet.
- Overhead Gap: Aim at the overhead metal pipe to initiate your first grappling swing.
2. Navigating the Molding Room & Acquiring the Green Hand
Molding Room Sequence Checklist:
- Step 1: Pull the primary power lever on the left wall to boot the system.
- Step 2: Press the first red button (droplet icon) to begin chemical mixing.
- Step 3: Walk behind the blue liquid tank and re-attach the disconnected pipe back into place using your GrabPack.
- Step 4: Press the second red button to transfer the liquid into the mold.
- Step 5: Head up the left staircase to the upper conveyor catwalk, grab the container of Green Paint, and load it into the top hopper machine.
- Step 6: Return to the main floor, press the third red button to paint the polymer hand, and press the final red button to release the finalized Green Hand onto the conveyor belt.
3. Entering the Game Station Hub
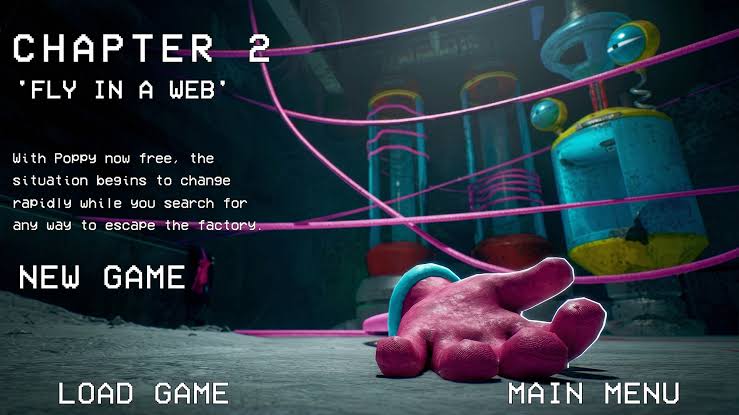
                   [ GAME STATION HUB ]
                            │
      ┌─────────────────────┼─────────────────────┐
      ▼                     ▼                     ▼
[ 1. Musical Memory ]  [ 2. Wack-A-Wuggy ]    [ 3. Statues ]
(Bunzo Bunny Game)    (Mini-Huggy Game)     (PJ-Pugapillar)
4. Game #1: Mastering Musical Memory
Round Breakdown & Sequence Patterns:
Round 1 & 2: Simple Colors
- Basic memory patterns with 3 to 5 sequence inputs using Red, Blue, Green, and Yellow.
Round 3 & 4: Expanded Controls
- Additional buttons drop from the ceiling, adding Violet/Purple buttons and special symbols (Circle, Heart, Star).
Round 5: Chaos Mode
- Buttons pop up rapidly around all 360 degrees of the wall, displaying abstract terms (e.g., Pi, Cyan, Question Mark, Exclamation Point).
- Pro-Tip: During the frantic final sequence where instructions overflow, look up to the middle hanging emergency stop button marked with an exclamation symbol. Hit it directly with your GrabPack to trigger system overload and destroy the game machine.
5. Circuit Routing & The Elliot Ludwig Maintenance Shafts
Step-by-Step Circuit Solution:
- Charge Transfer: Use the Green Hand to extract a 10-second charge from the wall-mounted Green Receiver.
- Elevator Platform: Immediately turn around, shoot the green target to raise the hydraulic lift, and ride it to the upper floor catwalk.
- Wire Wrapping: Attach your blue hand to the power terminal on the left catwalk, step around the central conductive posts without letting the wire snag on raised security gates, and plug into the target node on the far right.
6. Game #2: Surviving Wack-A-Wuggy
            [ WACK-A-WUGGY STRATEGY MAP ]
                     ( 360° Pipes )
                    /      │      \
               Pipe 1    Pipe 2   Pipe 3
                    \      │      /
           Left ◄─────  [PLAYER]  ─────► Right
                    /      │      \
               Pipe 4    Pipe 5   Pipe 6
Survival Rules for Wack-A-Wuggy:
- Audio Cue Detection: Listen closely to the squeaking and crawling sound effects. The pitch and side (stereo audio) indicate which direction a Huggy is emerging from.
- Increase Mouse Sensitivity / In-Game DPI: Because targets spawn behind you, fast 180-degree turns are mandatory.
- Target Selection Priority: Always hit Huggies that have extended their upper torsos out of the pipes first; ignore ones that only show eyes deep inside the wall.
- Gamma Boost: Turn your in-game brightness/gamma setting up high to easily spot dark blue Huggies lurking inside unlit pipes.
7. The Warehouse Cart & Barry Puzzle
[Green Power Node] ---> (Charge Green Hand) ---> [Door Terminal 1] (Gates Open)
                               │
                               ▼
                       [Push Cart Barry]
                               │
                               ▼
                     [Smash Wooden Wall] ---> Path Clear!
Execution Steps:
- Locate the Green Power Node on the upper wall gallery.
- Grab the green charge, drop down, and hit the green circuit lock to open Track Gate 1 within 10 seconds.
- Pull the track lever to route the railway line downward.
- Move behind Barry the Cart and use both hands to grab his rear handle, pushing him down the steep incline at top speed.
- Barry will crash directly through the wooden barricade at the bottom, opening the path down to the Water Treatment plant and the entrance to Game #3.
8. Game #3: Escaping the Statues & PJ-Pugapillar
Mechanics of the Statues Challenge:
- Green Light (Music Playing / Lights Off): You are free to move, crawl through tubes, and climb up slides.
- Red Light (Silence / Lights On): You MUST stop moving entirely. Even turning your camera perspective or moving your GrabPack arms will trigger PJ-Pugapillar to instantly charge and kill you.
       [STATUES OBSTACLE COURSE]
Start ──► Tube Maze ──► Slide Choice (Easy/Hard) ──► Glass Wall Exit
                              │
                    (PJ-Pugapillar pursues)
Course Route Guide:
- Zone 1 (Obstacle Floor): Navigate past hanging foam blocks. Freeze immediately when the light turns red and music cuts out.
- Zone 2 (The Slide Choice): You reach a three-way slide split labeled Easy, Medium, and Hard.
- Note: The Hard slide contains the PJ-Pugapillar trophy collectible, but the Medium/Easy slides offer faster escape routes.
- Zone 3 (The Broken Bridge Finale): At the end of the course, the exit stairs are completely broken, making it impossible to cross normally.
- The Cheat Maneuver: Do not wait for the lights! Look up to your top right to spot an overhead grapple ring above the control room window. Shoot your GrabPack hand onto the ring, swing directly through the glass window, and break into the observation deck.
9. Water Treatment Plant & Bunzo Toy Production
Water Treatment Controls Blueprint:
- Step 1 (Align Catwalks): Approach the central bridge control station. Set the top platform to rotate 90 degrees once, and rotate the bottom platform 90 degrees twice so the walkways line up across Bay 1 and Bay 2.
- Step 2 (Conveyor Belt Direction Setup):
- Press the Red Button on the front console to set the primary conveyor moving Left.
- Pull the elevator height lever up to the middle tier.
- Turn around and hit the Blue Button to direct the middle conveyor Left.
- Hit the Yellow Button on the right side so its line runs Left.
- Pull the main height lever to ascend to the top floor.
- Press the top-tier Red Button to direct the final conveyor left into the collection chute.
- Step 3 (Collect Toy): Once the Bunzo Bunny toy lands in the pickup box, grab it with your GrabPack and insert it into the scanner door by the exit gate to unlock the basement stairs.
10. The Ultimate Boss Encounter: Defeating Mommy Long Legs & Boarding the Train
The Furnace & Hide-and-Seek Phase:
- Furnace Ignition: Run directly into the industrial furnace room. Locate the Gear Mold on the side shelves, place it into the furnace slot, and use a Green Hand charge to ignite the forge. Step inside the flaming chamber—the heat keeps Mommy from reaching inside.
- Forging the Cog: Once the forge turns off, retrieve the freshly molded Gear and place it into the door gear box on the left wall to pull the opening lever.
- The Final Sprint: Mommy screams and charges down the hallway. Run through the corridors, grappling across elevated pipes and sliding down red conveyor belts to stay ahead of her stretchable limbs.
[Furnace Room] ──► [Conveyor Slide] ──► [Grapple Hallway] ──► [Grinder Room Lever]
The Industrial Shredder Trap (Boss Defeat):
- Run into the industrial machine room at the end of the maintenance hallway.
- Stand right next to the wall-mounted red industrial shredder controls.
- As Mommy Long Legs rounds the corner and extends her arms toward you, immediately pull the wall lever.
- The industrial shredder turns on, catching Mommy’s long arms and pulling her torso directly into the grinding gears, destroying her.
Final Objective: Starting the Train:
- Walk into the upper catwalk control room to free Poppy from her web wrapping. She will hand you the final piece of the Train Code.
- Take the slide down behind the train engine in the Game Station.
- Open the driver door using your Green Hand.
- Access the driver panel (Press TAB or inspect the console) and enter your acquired train code sequence (Symbols and Color order: 1: Red, 2: Blue, 3: Green, 4: Yellow).
- Pull the hanging overhead train break lever to start the engine and depart toward Chapter 3!
Conclusion
Mastering Poppy Playtime: Chapter 2 requires quick reflexes, efficient inventory management with the Green GrabPack hand, and spatial awareness during high-stress chases. By following this 10-step survival walkthrough—from solving early electrical circuit puzzles to surviving Bunzo Bunny, Mini-Huggy Wuggies, PJ-Pugapillar, and baiting Mommy Long Legs into the industrial shredder—you can easily navigate Playtime Co.'s underground death trap and escape on the train